North Birk
Behind the Scenes
If you’re inspired to build your own coffee table trainset or just curious about what’s under the Town of North Birk—then you’ve come to the right place. Anyone who’s worked with model trains knows that the enjoyment comes from the journey and that the journey is never really over. There’s always something to add or change. We’ve had fun on our journey. This trainset is really just a smaller version of a large set – with all the same construction steps: design, fabricate, track laying, wiring, buildings, scenery, accessories.
I started by first reacquainting myself with model train building fundamentals and was surprised and delighted to find a recent copy of Linn Westcott’s HO Railroad that Grows first published in 1958. It was the guidebook to the layout my Dad constructed. Although it’s now out of print and dated relative to today’s modern electronics—the layout is still smartly designed and fits on a 4X8 sheet of plywood. At N scale that would be 28×56 inches, so that’s what I started designing, at least until Peg took a look and pointed out that a 56-inch-long coffee table would not fit into our living room. So, it became a more practical 28×36 inch table.
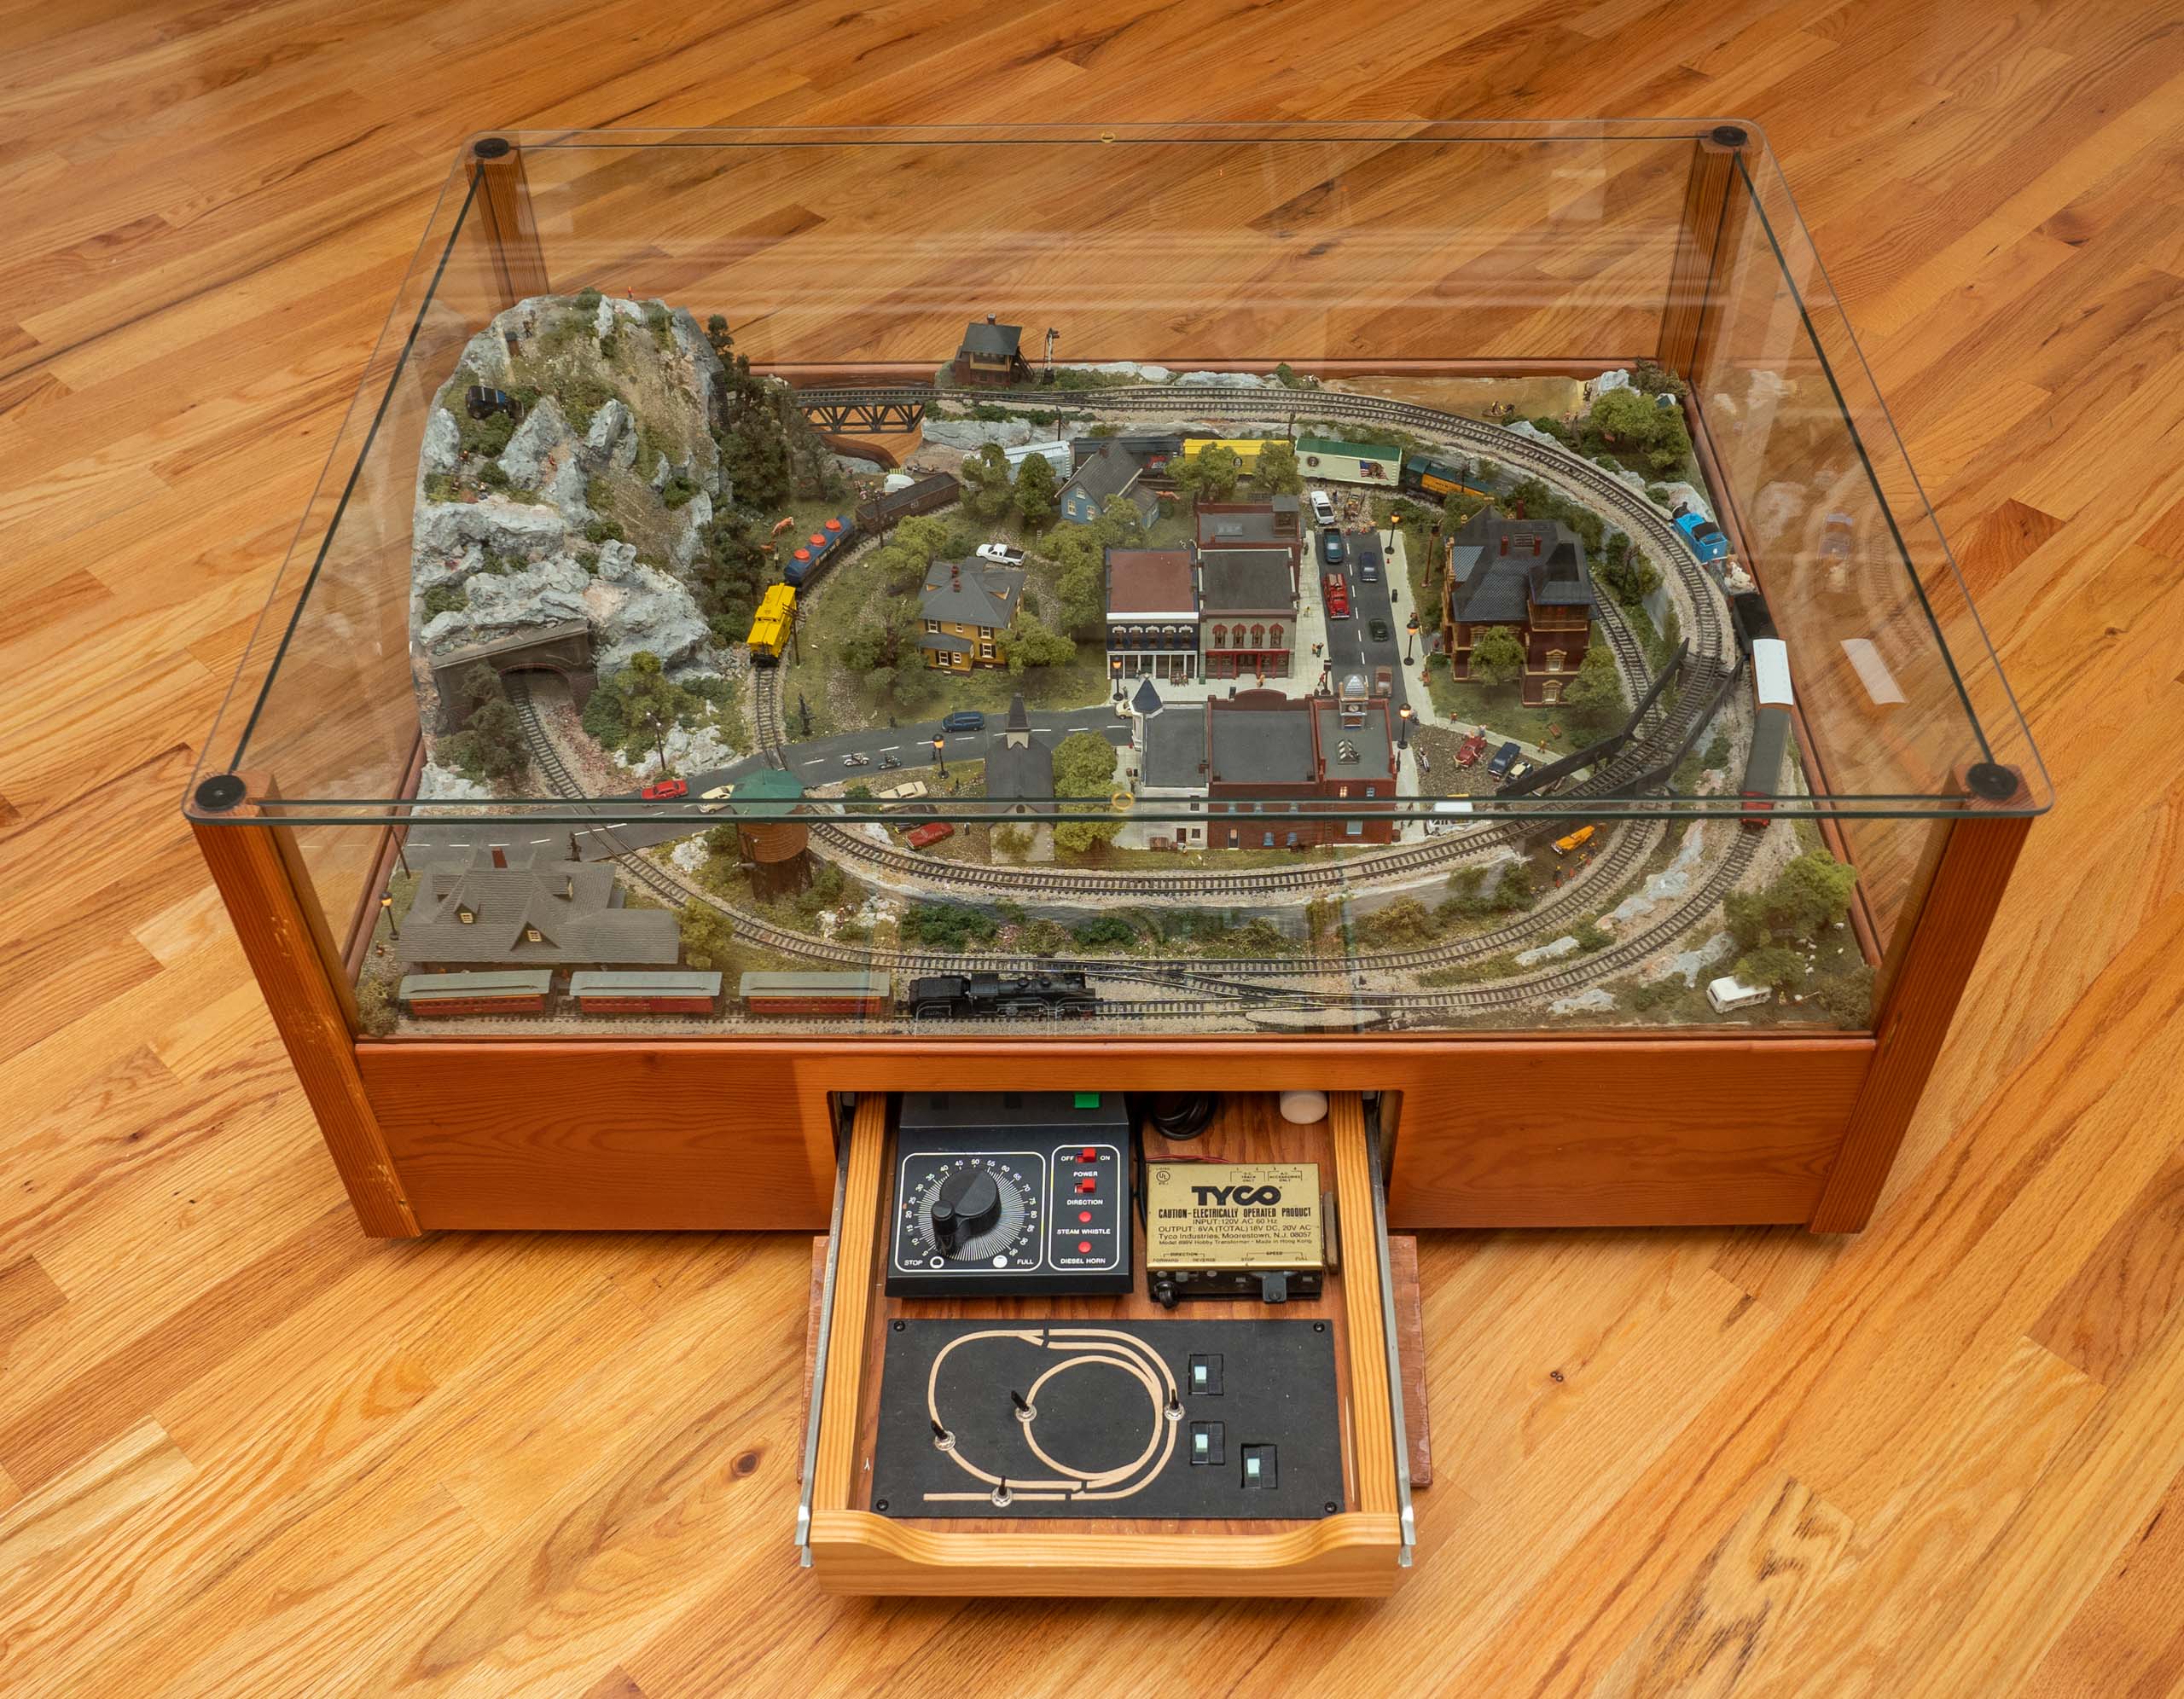
The table is constructed of 5/8” plywood for the top and ¾” pine boards for the framing. The photo below shows the framework, note the cleats on the corners are used to hold the finished pine surround. Layout requirements included trainset standards—a tunnel, a stream, raised track, ocean/lake and a ravine with a bridge. The mountain, ravine and ocean bottom were fabricated using hard plaster and paper as described in the HO Railroad that Grows. Rocks were created using commercially available plaster molds and then cemented into the layout. Once the track was laid, plaster was used to create a realistic surface over the entire layout.
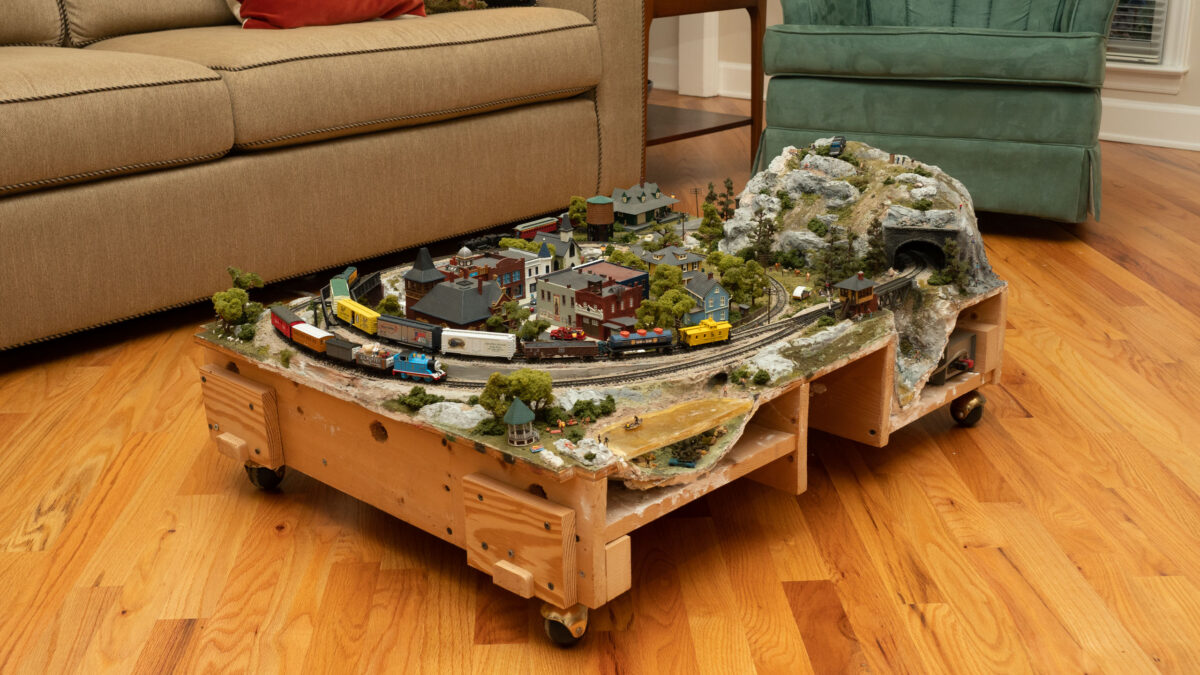
The small table necessitated a simplified track plan—a main outer loop, a connected inner loop and a small siding off the outer loop. There are three operating switches that allow a train to switch from one loop to the other and, while it is possible to run two trains concurrently on separate power packs—it’s a challenge because of the shared single-track section. This can be seen on the track diagram on the control panel shown below. Each section can be electrically isolated using the section switch—the left power pack controls when the switch is to the left; the right one when switched right. In actual operation, we run one train at a time using the MRC Powerpack on the left and seldom use the right powerpack. There’s a bonus built into the MRC Powerpack—two buttons enjoyed by everyone from 2-year old’s and up—one button for a steam locomotive sound and one for diesel
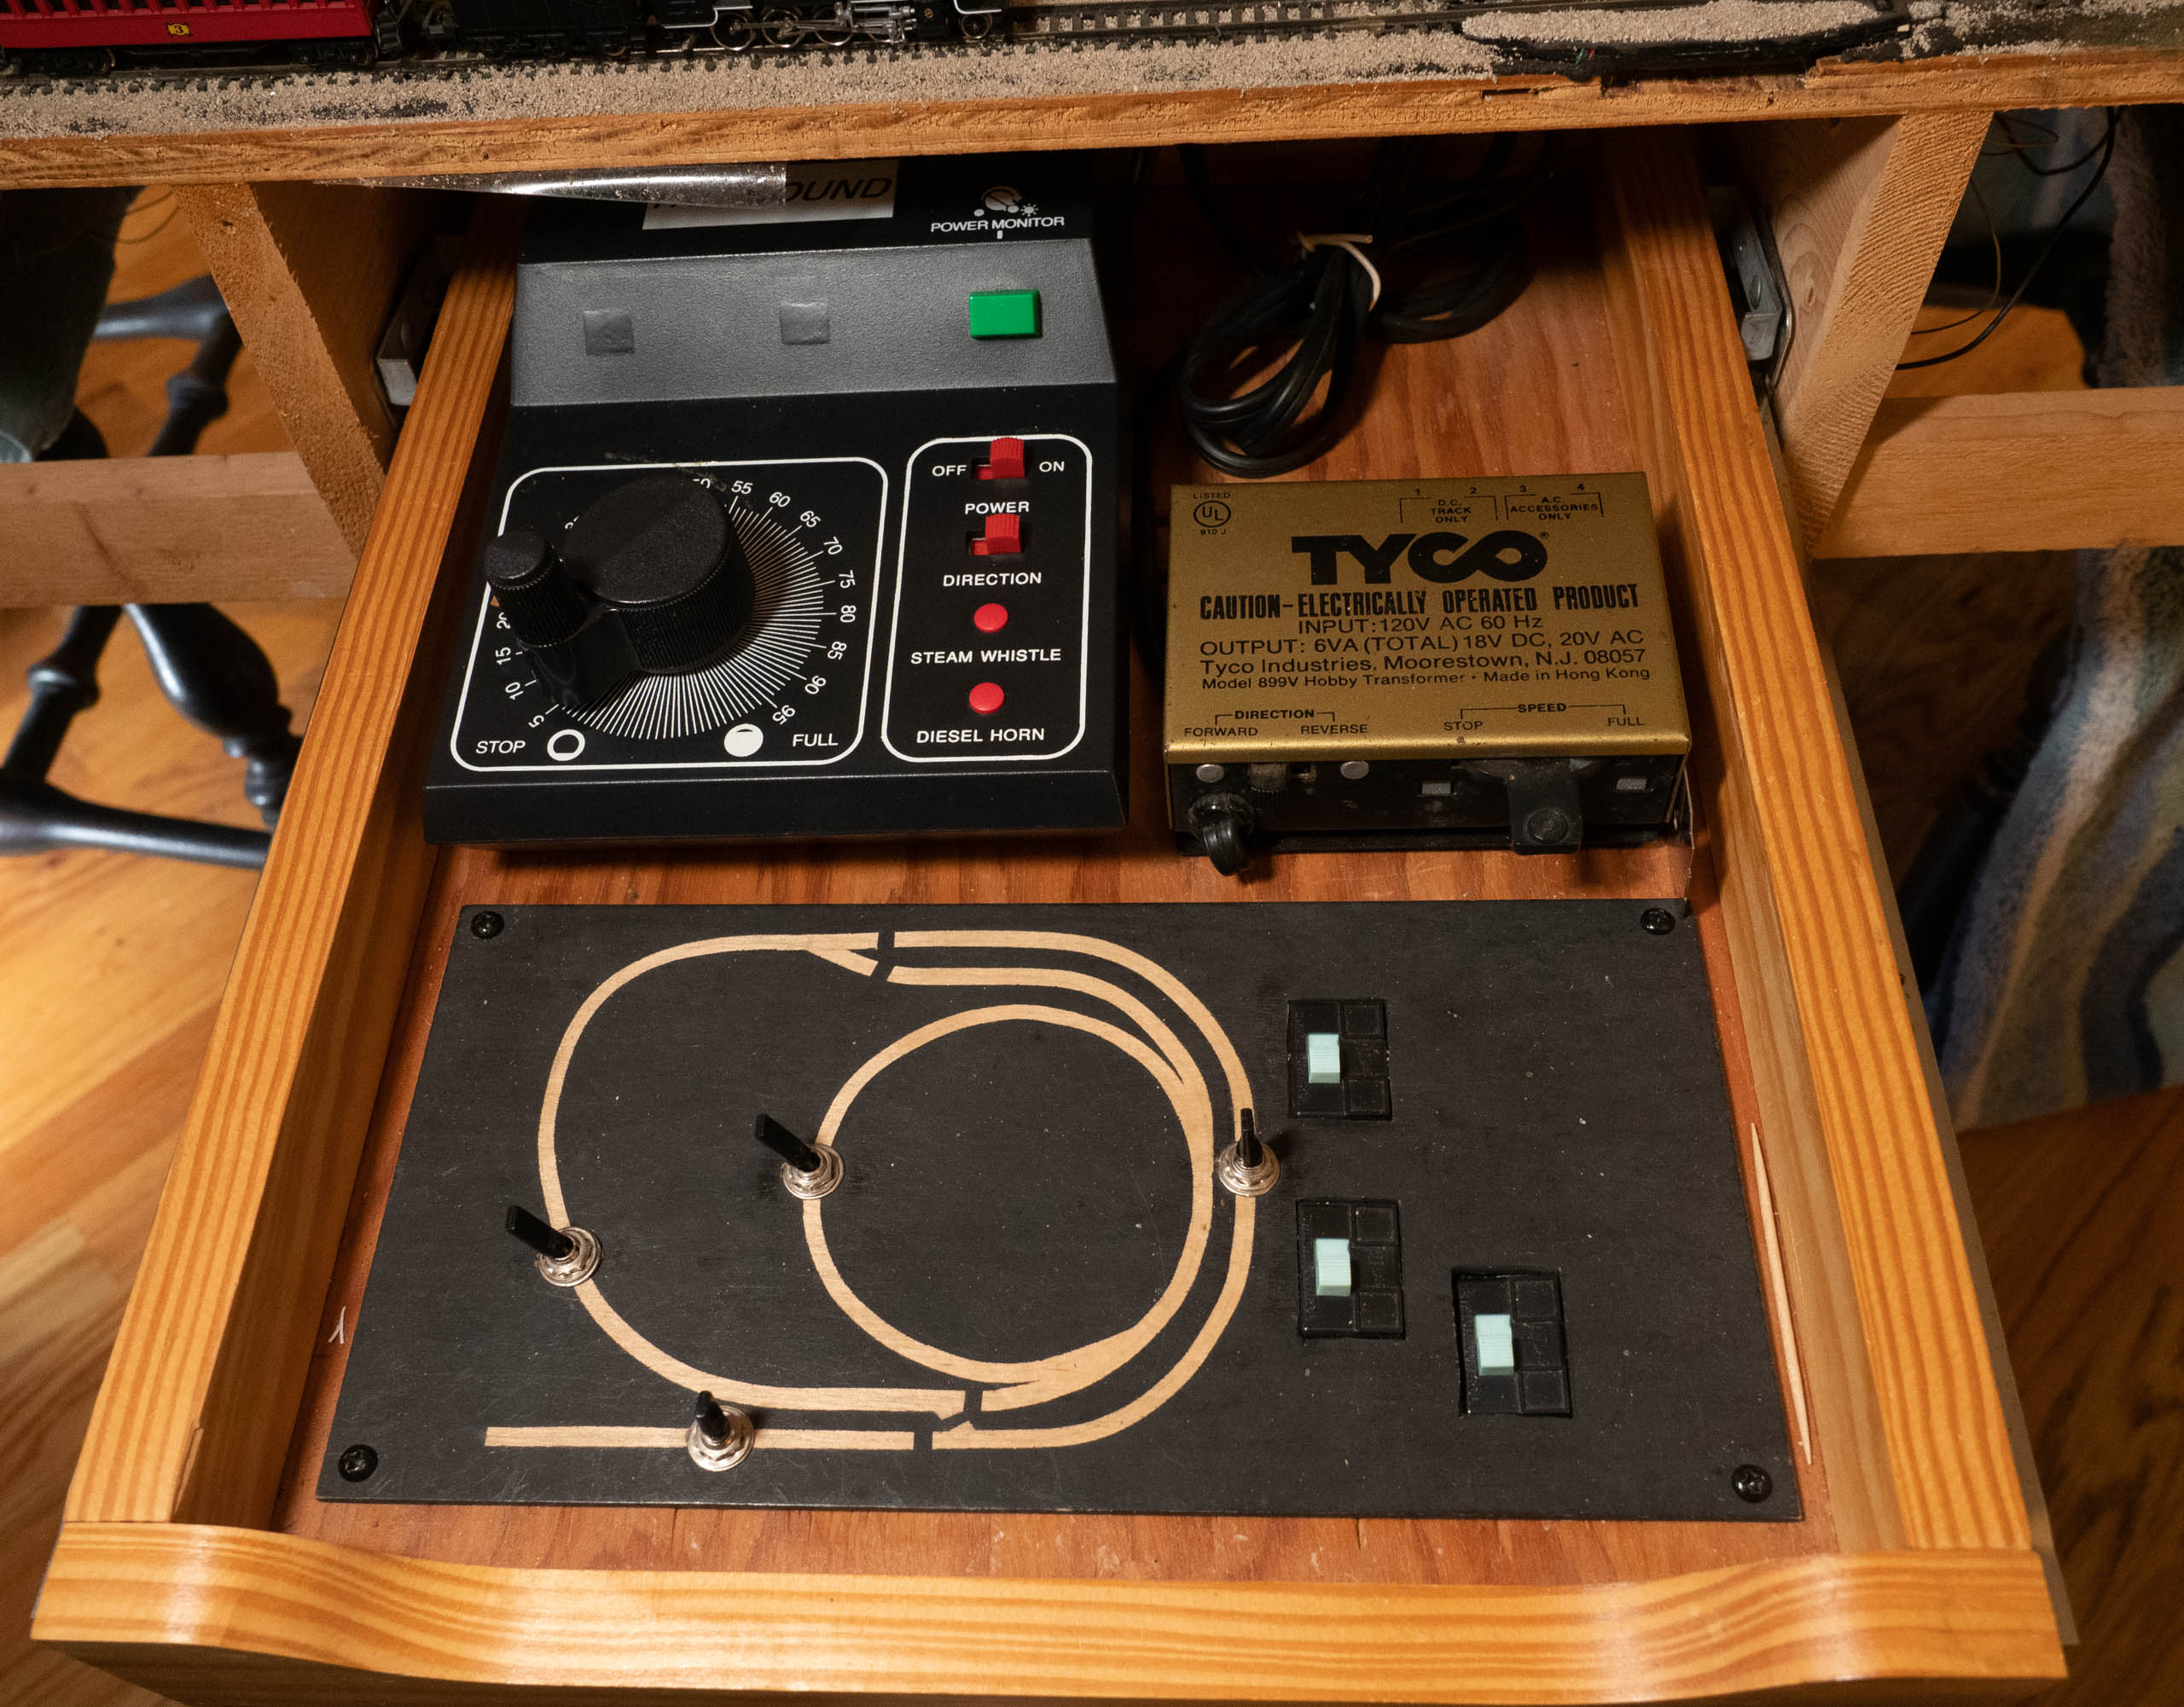
At one point I did consider upgrading to a modern Digital Command (DCC) System which would allow multiple trains to run on the same track without requiring the switched sections and dual powerpacks. It would be a bit extravagant for such a small setup—maybe someday.
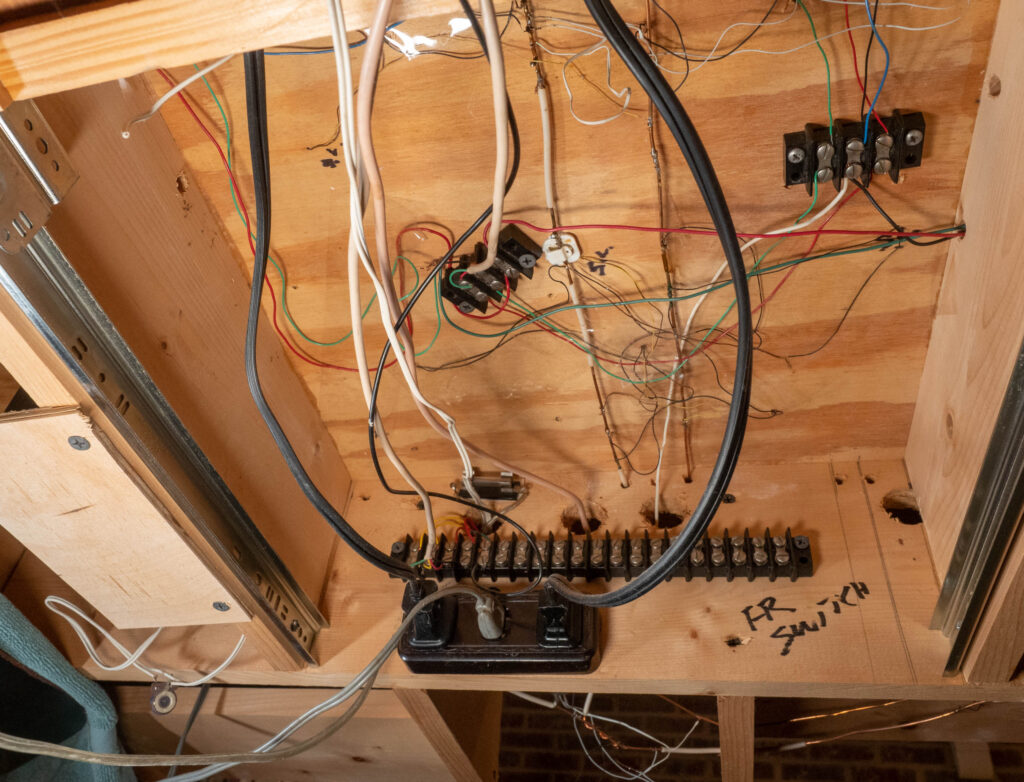
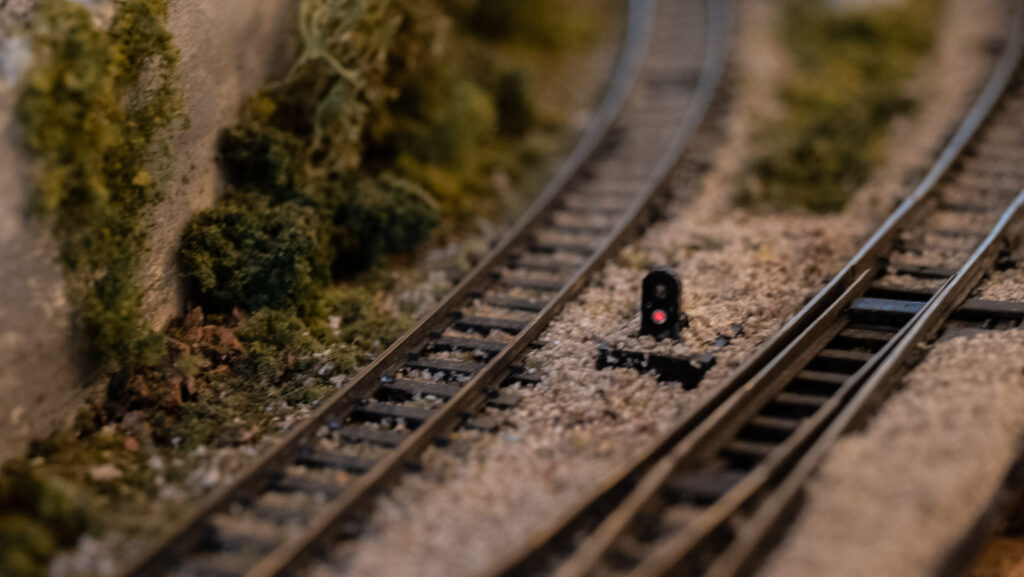
There’s a lot under the table with wires to every building light, operating switch, signal lights and more. While it looks like a rat’s nest, it’s actually pretty straight forward. Power to lights and accessories is provided via a couple of trunk lines that run under the entire table. They are the bare copper wire and the white/bare wire running front to back in the photo below. Electric turnouts require more wires, so 4-conductor telephone wire was used to connect them to power and their control switch. Two of the turnouts have lighted signals, the one shown below uses a tiny, realistic fiber optic light. The layout uses Peco track and turnouts and Atlas turnout controls.
As for engines and rolling stock, we have nice, mostly working mishmash of Tomix, Bachmann, Model Power, and Arnold engines, lots of freight and passenger cars and both types of N-gauge couplers
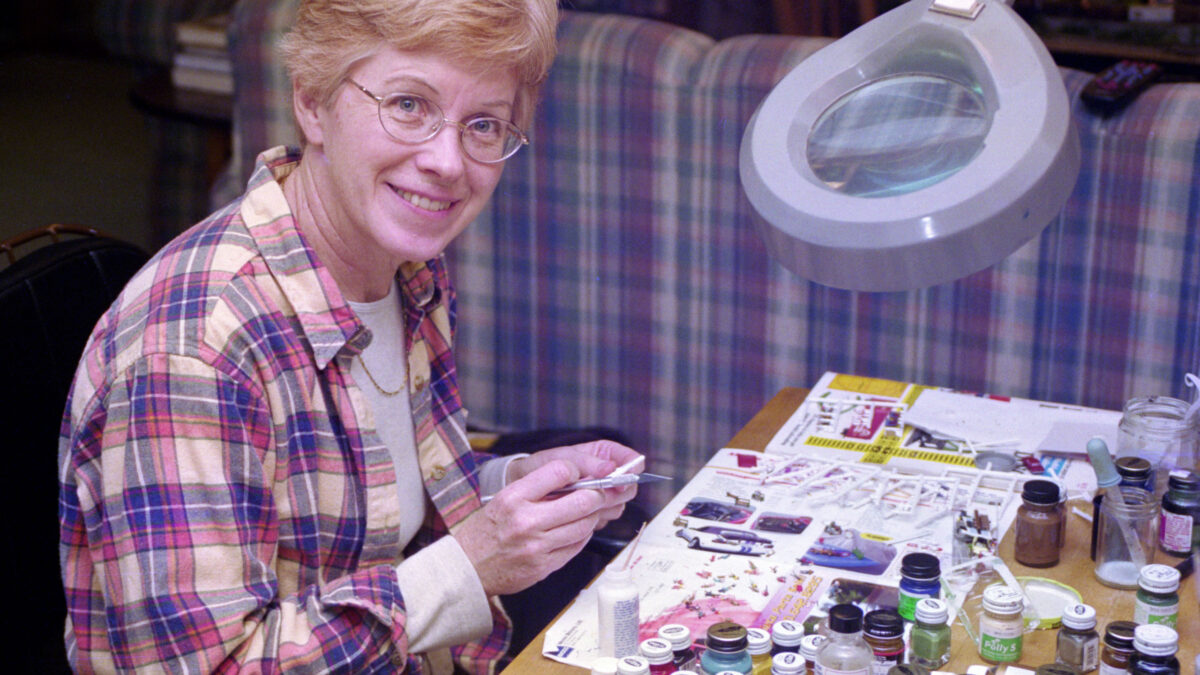
What we’ve really had fun with is the scenery. All of it is commercially available with great detail. We’ve particularly enjoyed the vehicles, people, scenes and stories available from Woodland Scenics. They are highly detailed and whimsical (football team, motorcycle choppers, ice cream truck, camping trailer, trees and more). Tiny people are expensive, unless you buy them in a bulk pack of 100 unpainted people. Which we did and then painted, as Peg demonstrates back in 2000 using a magnifier light, a tiny brush and lots of small jars of paint.
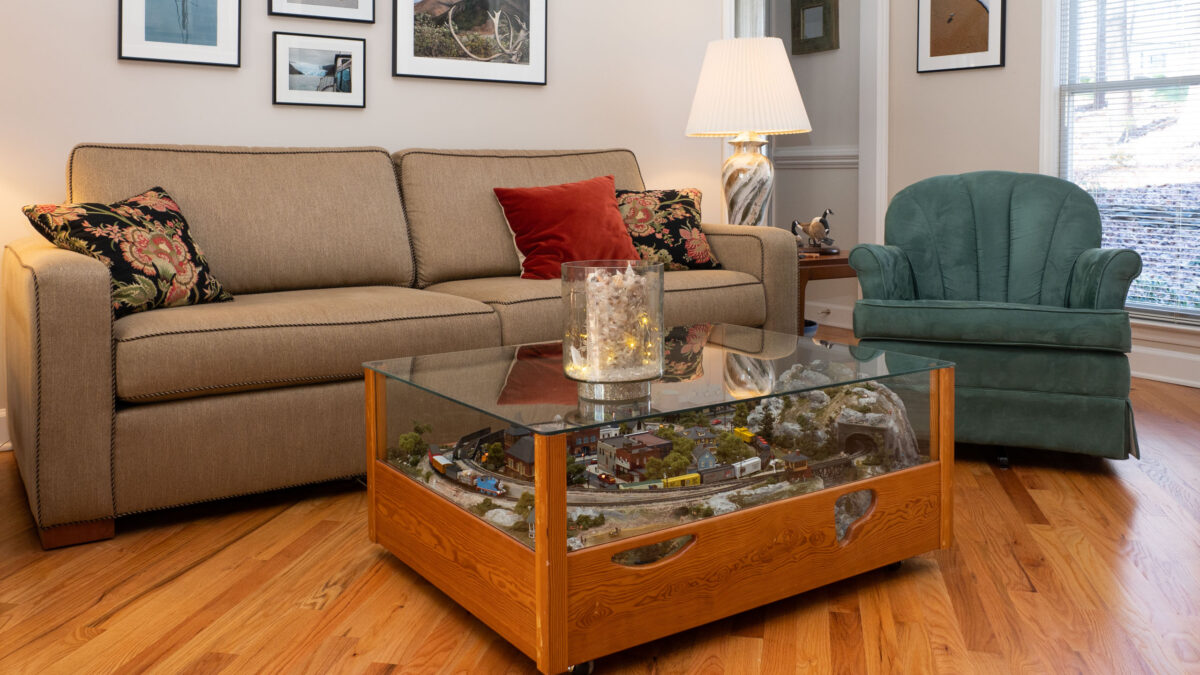
Hiding all the inner workings and protecting the layout from dust is the wooden surround with cutouts to reveal the ocean and the ravine. We used 3/16” glass on the sides and 1/4” glass for the top. The sides are 14.5 inches high and the top is 16.5” above the floor.
It’s certainly an interesting piece of furniture and a true conversation piece in our living room. I hope you’ve enjoyed learning a bit about how our table came to be. Have fun making your own.
